I haven’t kept up with my blog lately, it seems that life can get in the way. But I’ve had some interest in these beautiful necklaces I’ve made throughout the years and I’d love to share a little about how they are made.
It’s a great time to shop in my Stampin’ Up store, because for every $50 spent, you will receive a $5 coupon code that you can spend in February. Once you see how easy these sweet jewelry pieces come together, you will want to go stock up on Designer Series Paper and other trinkets to see how creative you can get with them. My favorite glue to use on these projects is the retired Stampin’ Up! Crystal Effects, however you can use the Fine Tip glue as well. This link here will get you to my entire Stampin’ Up! store.
First off, I’m sharing some Amazon links for some of the supplies you will need in addition to all the Stampin’ Up! products, and I am an Amazon Affiliate which requires me to let you know that I do earn a small commission off the links I share. All the Calypso Coral links are active links attached to a specific product.
Second, I would greatly appreciate you using those links because every little bit helps….right? And I’ve done the work for you so you don’t have to search for a product and wonder if it will work.
Third, when you re-create these amazing gems, I’d love it if you could at least mention my name and small business Creative Joy Stamping to support in a way that is non-monetary. I’d also love it if you would share it using #creativejoystamping so I can see your beautiful art as well!
Here is a list of the items you can use from Amazon. I included a 1-inch circle punch because Stampin’ Up! no longer offers one.
Circle Cabachon trays with glass overlay
Black cord with clasp
One inch circle punch
Clear glue for glass if you prefer
Seed Bead Variety
Rectangular Cabachon trays
Square Cabachon trays
Earring Cabachon trays
Basic Instructions:
Find some amazing Designer Series Paper to feature in your necklace, or you can get creative with some other products. I’ll share some ideas at the end.
Punch your paper using the 1-inch circle punch (find special moments in your paper to feature).
Lay out your circle cabachon trays with the glass right next to them so you are ready to go.
Be sure to use your silicone mat under the tray you are working on.
Press one of your punched pieces into the cabachon tray, then put a generous dot of the glass glaze right in the middle (give yourself some grace here, it will take a minute to get the amount correct), you don’t want to fill the entire circle, you just need about the size of a pea so that when you set the glass on top it will do the job of spreading the glaze to the sides. TIP: if the glass hasn’t pushed the glaze to the edge on it’s own, you can give it a press to push it out, this also works to push out bubbles.
If you do get glue or glaze on your project, try to gently wipe it off immediately so it doesn’t have time to set.
Let them sit out to dry, I like to give them at least a night or 24 hours so I can make sure they are set well.
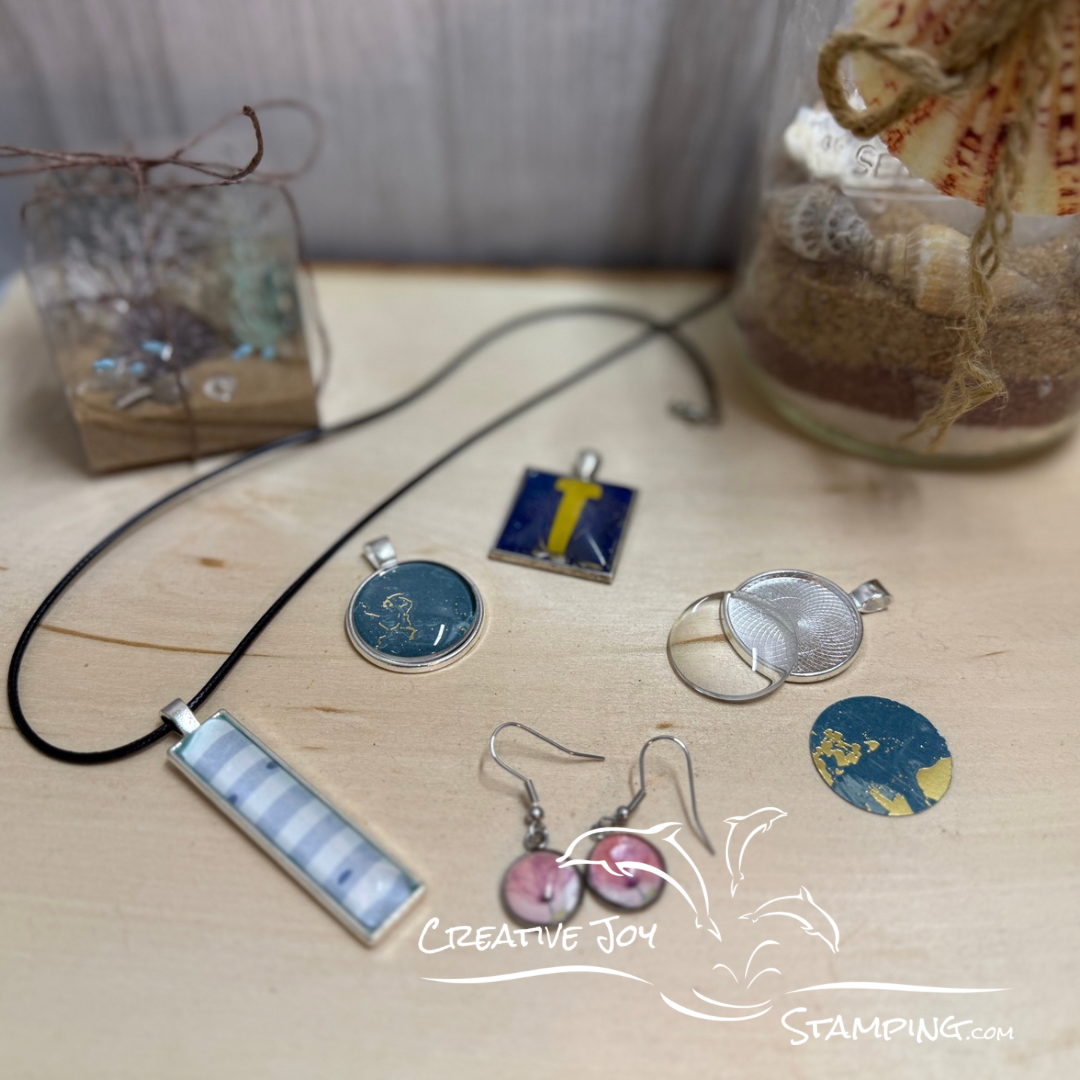
Voila, you are done! Enjoy your success and gift to someone special or wear with pride.
I have created these necklaces many different ways; circles, squares, rectangles, (these three are the easiest), but you can also find the cabochons in hearts, teardrops and other shapes. I have also created earrings the same way.
The quickest way to create them is to make the Designer Series Paper do the work, however I have also created them with Glimmer Paper, and using the alphabet die to cut letters and place them in the center of the paper. The Pastels Shimmer Paper could work too.
I had a happy accident, when opening a package of the glass toppers, I dropped them and a few of them broke, so I decided to try a couple of the trays with some seed beads that I had. Stampin’ Up!, at the time had a mix of them that coordinated with a Suite so I shook a few into the cabachon tray to fill all the gaps, then set the beads in the Fine Tip glue by pouring a generous amount over them (you’ll want to make sure they are all covered completely).
I bet the Loose Valentine’s Assortment or the Frosted Dots would make some great pieces!
Well, I’ve done my best to set you up to get started. Let me know how it goes!
Hoping your creativity brings you joy and peace with each piece you create!